Use APKPure App
Get Drawing Tutorial old version APK for Android
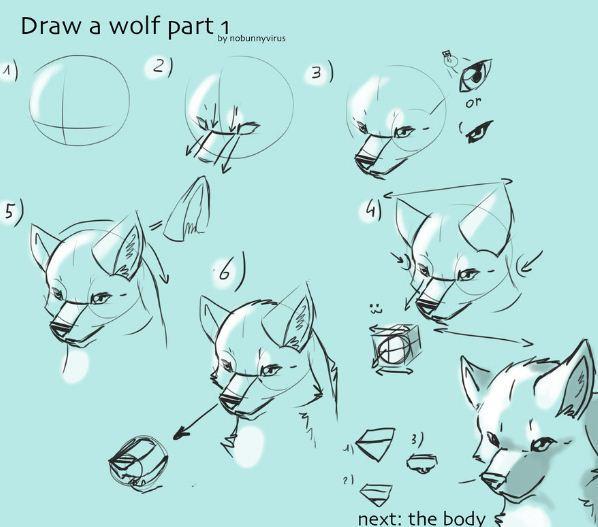
Get the latest ideas on Drawing Tutorials here!
Roses is one of the favorite flowers. They are the most common interest on greeting cards. They are also engraved on various objects. Roses are also embroidered on many fabrics such as hand napkins, tablecloths, and others. Therefore, learning to draw roses can help you not only to attract these flowers better, but also help you create various crafts. So, without further ado, here are the various steps with images that will guide you in drawing roses.
How to Draw a Rose
Step 1 - The first step is to draw two oval circles. The shape of this circle, will change depending on the angle at which the flower is seen. This is the top corner of the rose. These two circles are just a light guide for drawing deep dense buds such as structures with flower petals, and the most exposed outer flower petals of roses.
Step 2 - In this step just in the middle of the circle, start drawing the mini petals, touching each other.
Step 3 - After this add some more petals and pull the bottom half of the oval, under the petals. It forms the main compact center of interest, which gives its volumes interest.
Step 4 - In this step add some more relaxed and bigger petals, near the inside of the deep roses. Do not add more than 2-4 petals.
Step 5 - At this step slowly start adding more petals. Make sure you draw them in the right angles, by observing roses or rose images. See how the petals should cover the center of the rose, then how the loose end of the petals should stand out.
Step 6 - This is the final stage of drawing. In this step neatly add the last eyelids. When drawing the outer petals, do not draw them in perfect pointed shapes, but keep them random. Random patterns will help improve the natural look of roses.
Step 7 - Now, start shading. Before starting with shading, you may consider deleting a guide with a dried eraser. For shading, you can use various media. Colored pencils, simple brush strokes, pencils, mechanical pens, sketching pens, charcoal, etc. can be used for shading. Here a sharp pencil is used. Shading is done from the inside out. Sharp and smooth lines are used to shade.
Step 8 - Now, in this step add a smoother, lighter and smaller scratch from the tip of the eyelid to the inside. Keep it very light. This will give you a feeling of elliptical shapes.
Step 9 - Above we see how to draw roses step by step. So, follow the drawing steps above drawing roses. Now, add the stems, and the rose leaves to the picture. Make sure you add a little thorn and draw the shape of the stems and leaves correctly, so it looks like a rose rod.
Step 10 - Finally, in the same way do the shading or the stems and leaves, and the picture of your roses is complete. Do not hesitate to try the colored pencil technique while shading or coloring roses. Adding color will make your image look more beautiful.
Drawing Tutorial
Get the latest ideas on Drawing Tutorials here!
Last updated on Jul 5, 2017
Minor bug fixes and improvements. Install or update to the newest version to check it out!
Dernière version
![]() 1.0
1.0
Nécessite Android
2.3 and up
Catégories
Signaler


Discover what you want easier, faster and safer.

Drawing Tutorial
1.0 by Risiak
Jul 5, 2017