Use APKPure App
Get Perfect DIY Potting Bench Project old version APK for Android
An Application That Teaches You Perfect DIY Potting Bench Project Instructions
DIY Potting Bench Project Perfect This Spring.
Show some TLC for your garden through this project!
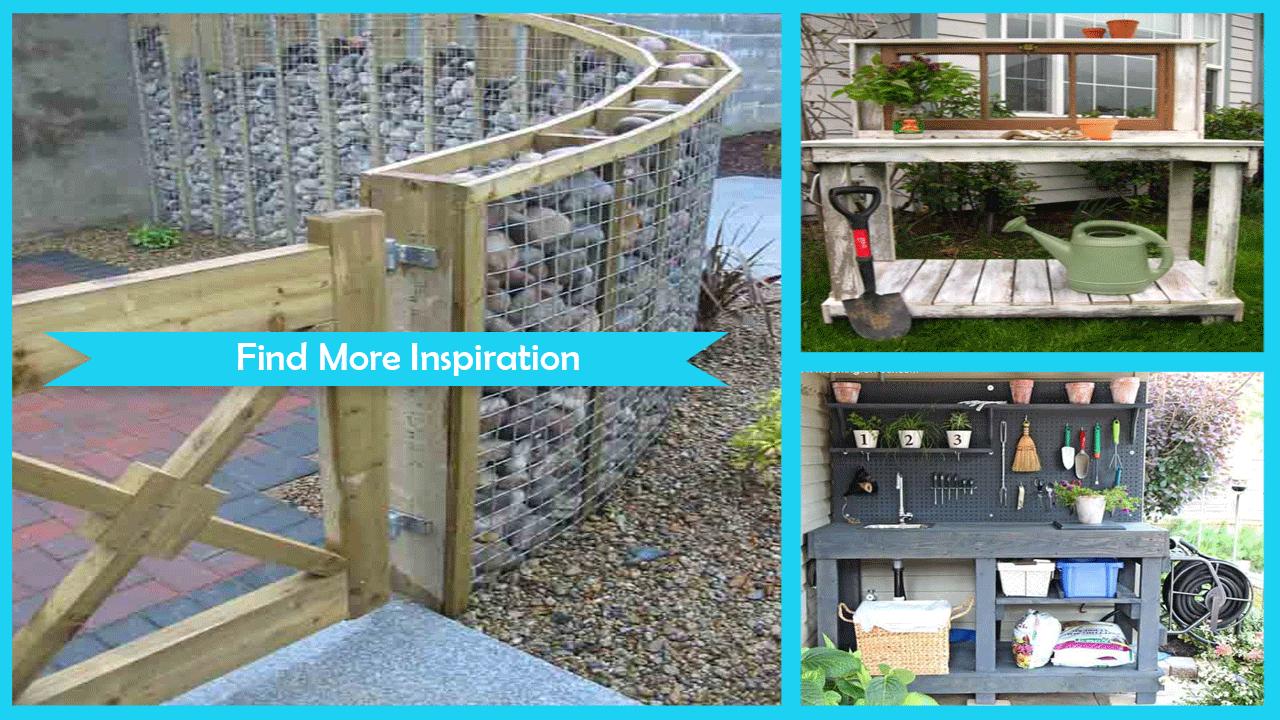
Springtime is here! You must be excited to enjoy your backyard. Plus, you also imagine the plants that you would want to add to your garden. You simply can’t wait to plant your seeds or cultivate your land area. It’s definitely the best time to start your gardening projects. While doing so, we all would want a functional piece that can hold our tools and keep them organized. A working space when potting or taking care of our plants will be a great help as well. Start right by having this DIY potting bench that will surely be beneficial. It’s easy, and the materials are cheap, too.
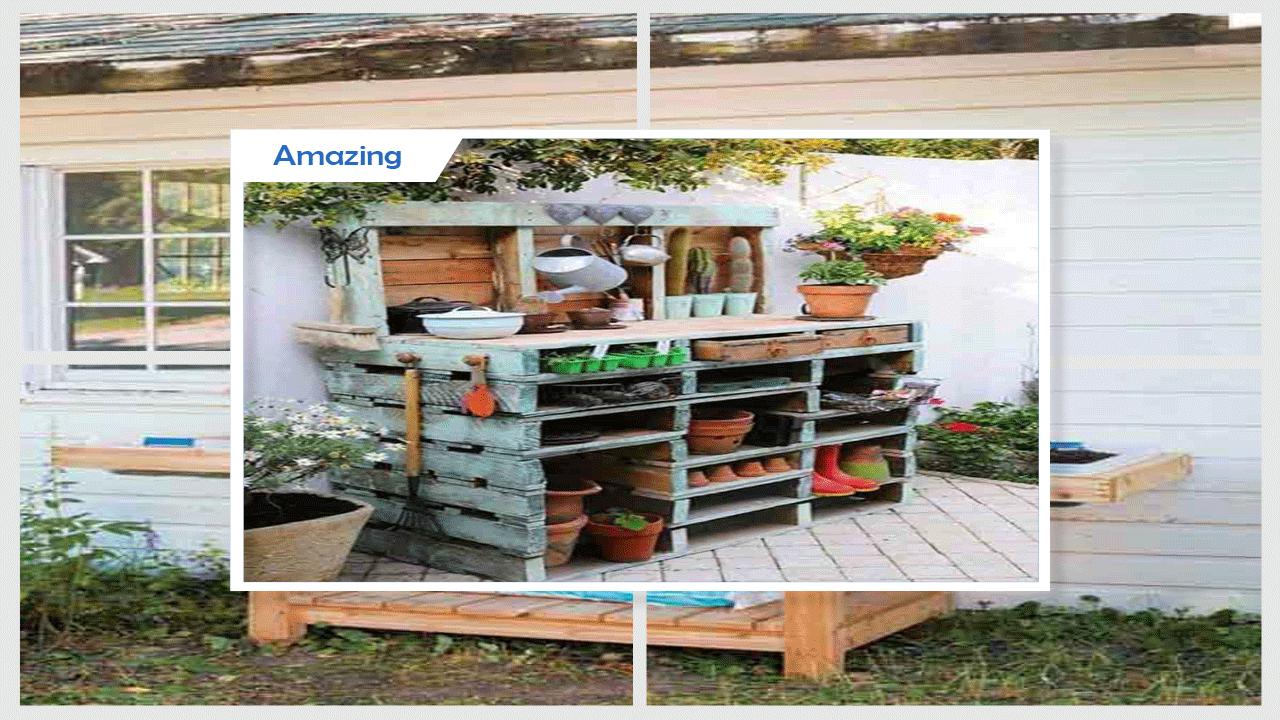
This spring, give more time and attention to your garden. Everything’s starting to bloom! In line with showering your garden with water, love and care are this rustic potting bench to help you with your gardening. Wide area for potting, a compartment for dry soil, and a station for your tools, this bench is a must – have. Learn how to nail this project through the steps here!
Steps:
1. Measure and cut.
Measure your pallets and boards. In this project, the frame was built using 2×4 lumber. For more details about this project, check out the illustration here.
2. Make a frame.
Make a frame for your top and lower shelf. Glue and nail it. I suggest you can use a 16d galvanized nail. It has a length of 3.5″ –this is the preferred size of seasoned woodworkers when working on a 2×4 lumber.
3. Attach the legs.
Attach the legs for the potting bench. Start with one side and just flip it over to do the other side.
4. Install the top piece.
Install the top piece for your project and allow some space to go beyond the sides.
5. Dry sink
Build the dry sink using wide boards. Build up one side by adding a 2×4 piece of lumber. Attach the boards on its sides. Install the base of the dry sink. Mark the area (from below) where the lock will be installed. This is for the cover of the dry sink. Put a horizontal board as its lock, and screw in place, together with the cover boards.
6. Place wide boards.
Place all the wide boards on the top shelf.
7. Place the dish pan.
want to know more?
for further information and detail tutorial, download this now and grab what you want.
please enjoy this Perfect DIY Potting Bench Project and give us any feedback.
Last updated on Dec 18, 2017
Minor bug fixes and improvements. Install or update to the newest version to check it out!
Dernière version
![]() 7.1
7.1
Nécessite Android
4.0 and up
Catégories
Signaler


Discover what you want easier, faster and safer.

Perfect DIY Potting Bench Project
7.1 by Kurama Studio
Dec 18, 2017